Concrete Counters
My First Try
The high price of granite counters in N.E. Oregon encouraged me to try making councrete counters. I started off by reading numerous websites detailing the steps of building them. I then researched the materials available in my area. Finally I went hunting for the tools, mainly on ebay, that I would need. I already had a 6.5 HP air compressor so decided to go with an air powered grinder instead of the more common electric grinders sold on ebay. My dislike for using electricity around water also influenced that choice.
I started off making a 1.5' x 1.5' sample to see if my skills were up to the task. For the sample I used portland cement, sand and pea gravel. Not being a very exact person when it comes to construction, I kind of winged it on the rations of material. I put 1/2 a bag of pea gravel with some water in the cement mixer. Then started adding 1 shovel of cement and 1 shovel of sand until I got a nice thick but consistent mixture of concrete. The scoops of cement tend to be bigger than the scoops of sand. Which works out good since the counters seem to be smoother when there is more cement in the mixture. A contractor friend got me some flow additive for the concrete from a local concrete plant. It is supposed to make the concrete more fluid with less water in the mixture.
For forming and pouring the concrete I build a 4x8 table out of OSB making sure that it was flat. To get a fairly smoothe surface on the counters prior to sanding them, I covered the table with white board material. The 1/8" x 4' x 8' sheets were $17, well worth the reduced sanding time. After each pour I replaced the white board material since it tends to get rough after each counter.
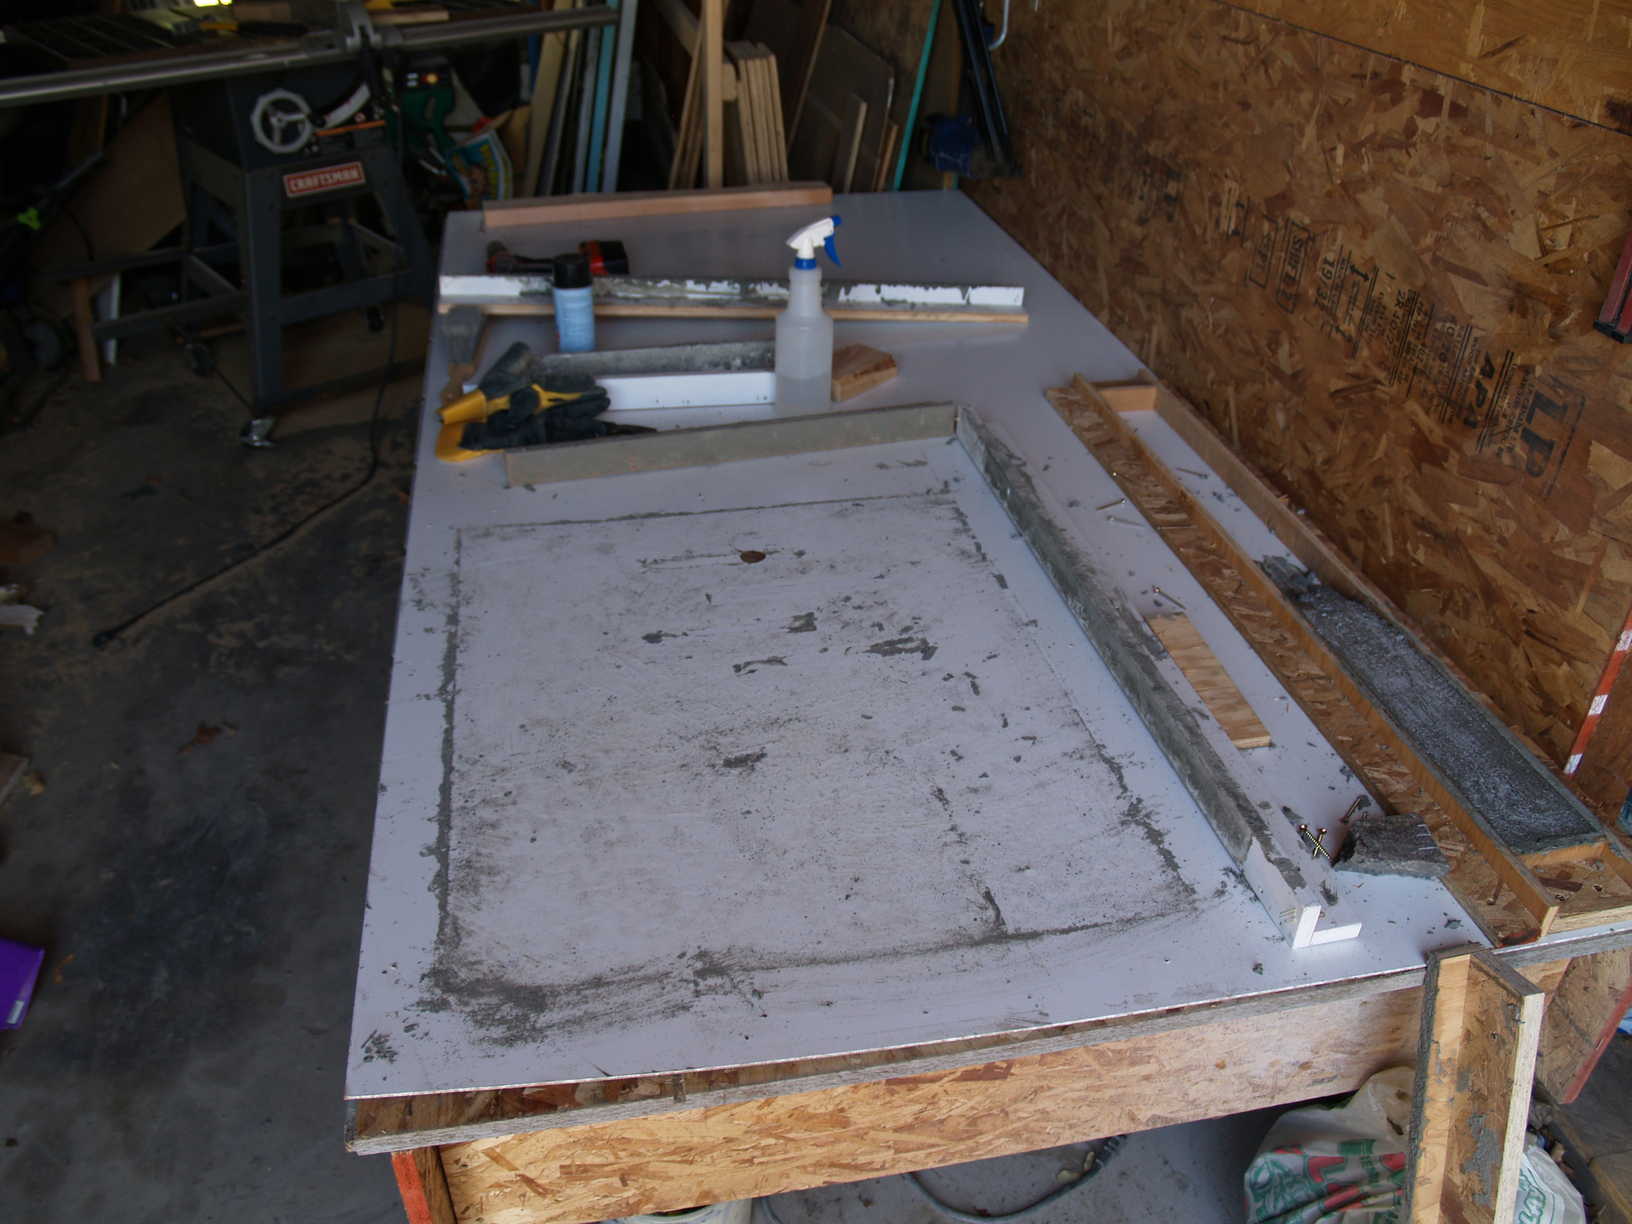
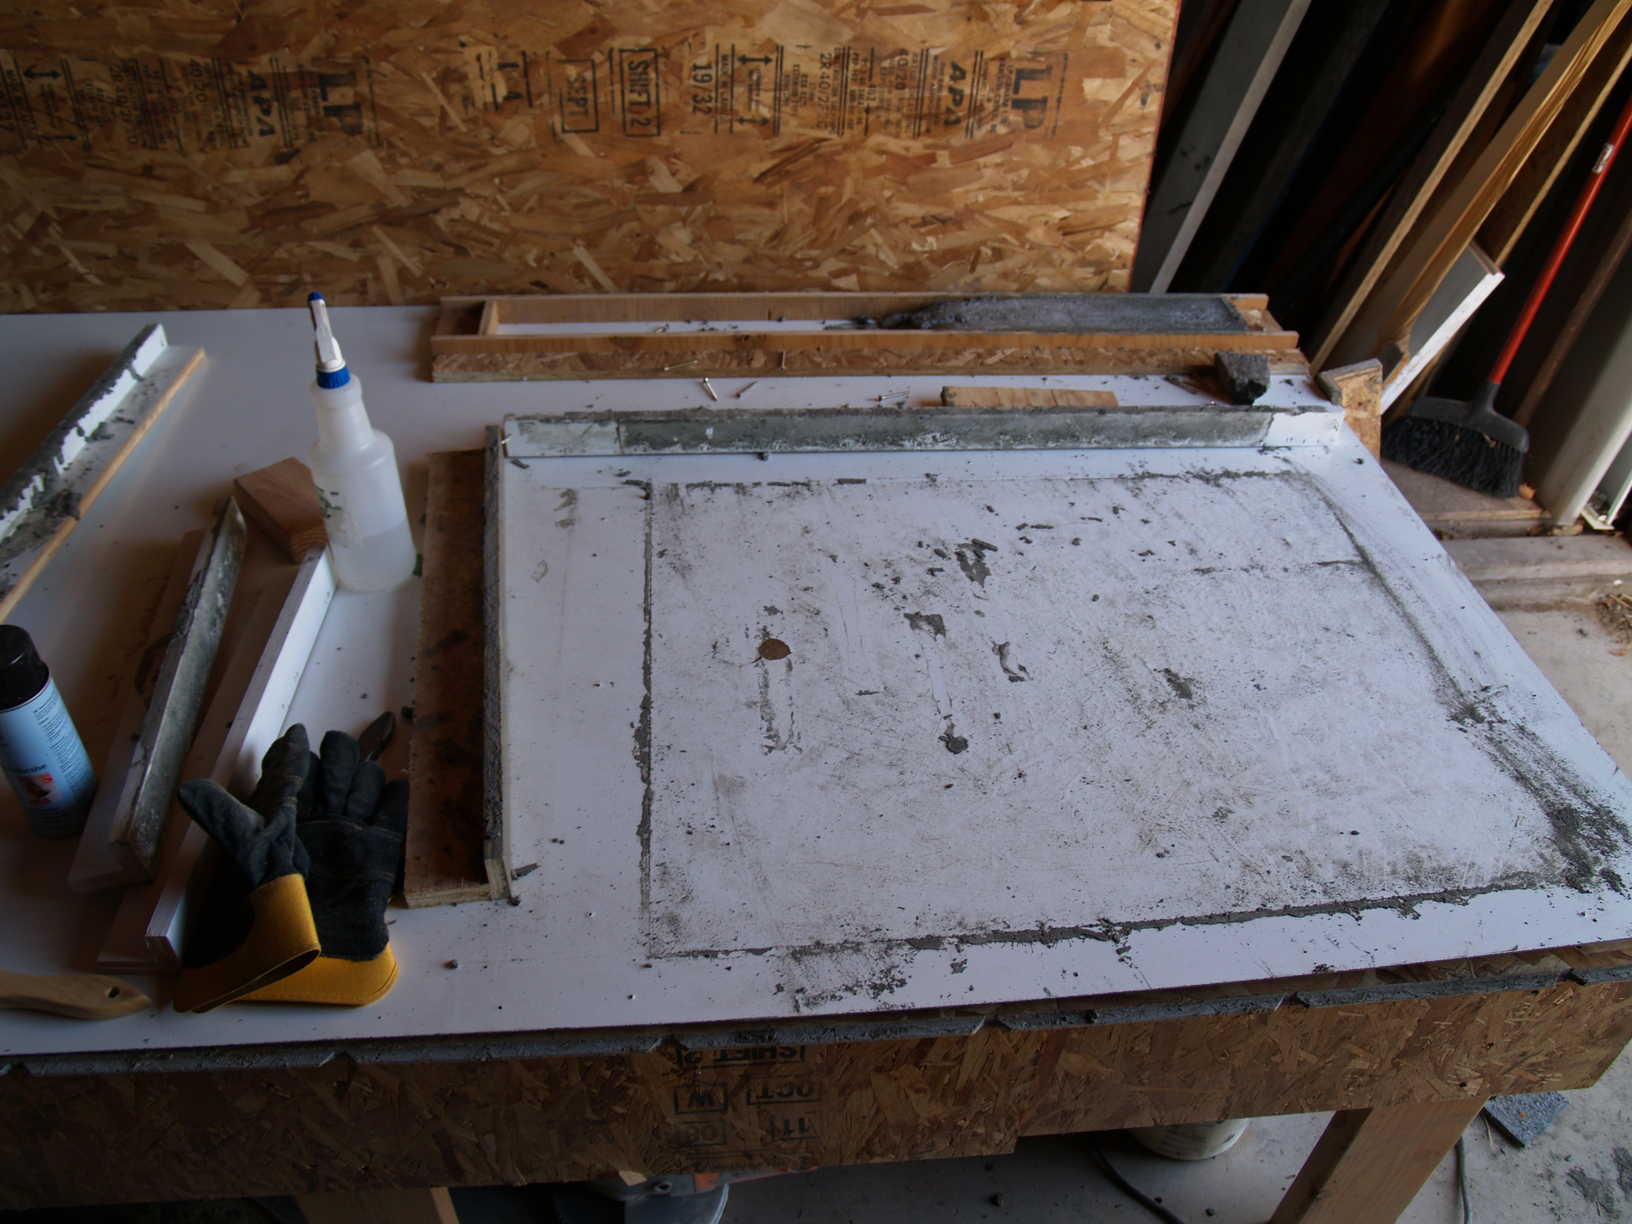
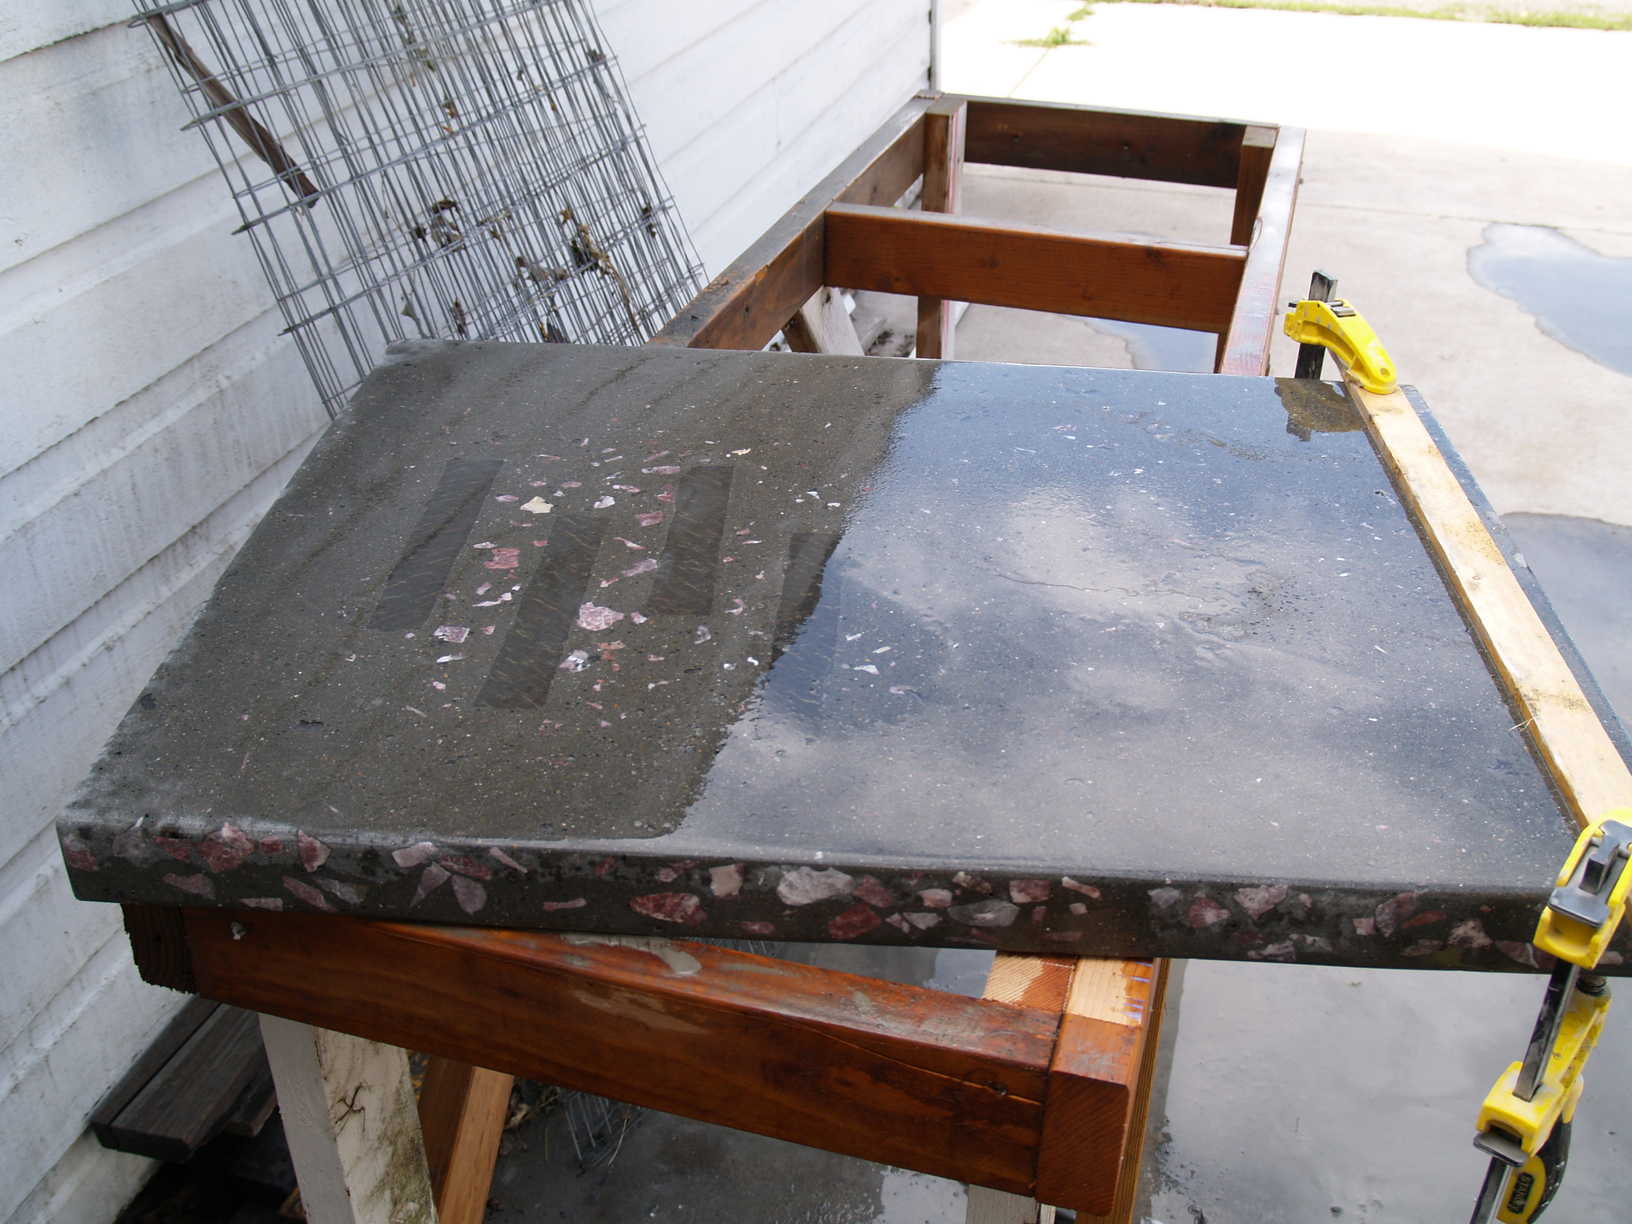
I formed the molds with 2" wide strips of whatever I had available. Screwed the strips to the table in the desired form, mixed and poured the concrete. I let the concrete cure for 5-6 days, keeping the exposed surface damp, then removed the forms and moved the counter(s) to my sanding table. Unlike the form table which I build low for ease of pouring, I build my sanding table up high enough that I would not be bending over when sanding. Having a high sanding table saved me a lot of back pain. Prior to sanding a counter it is still fairly rough to the touch. For the first real counter I embedded some cut stone into it's surface, with the hopes that the stone would look like a hot pad next to my stove.
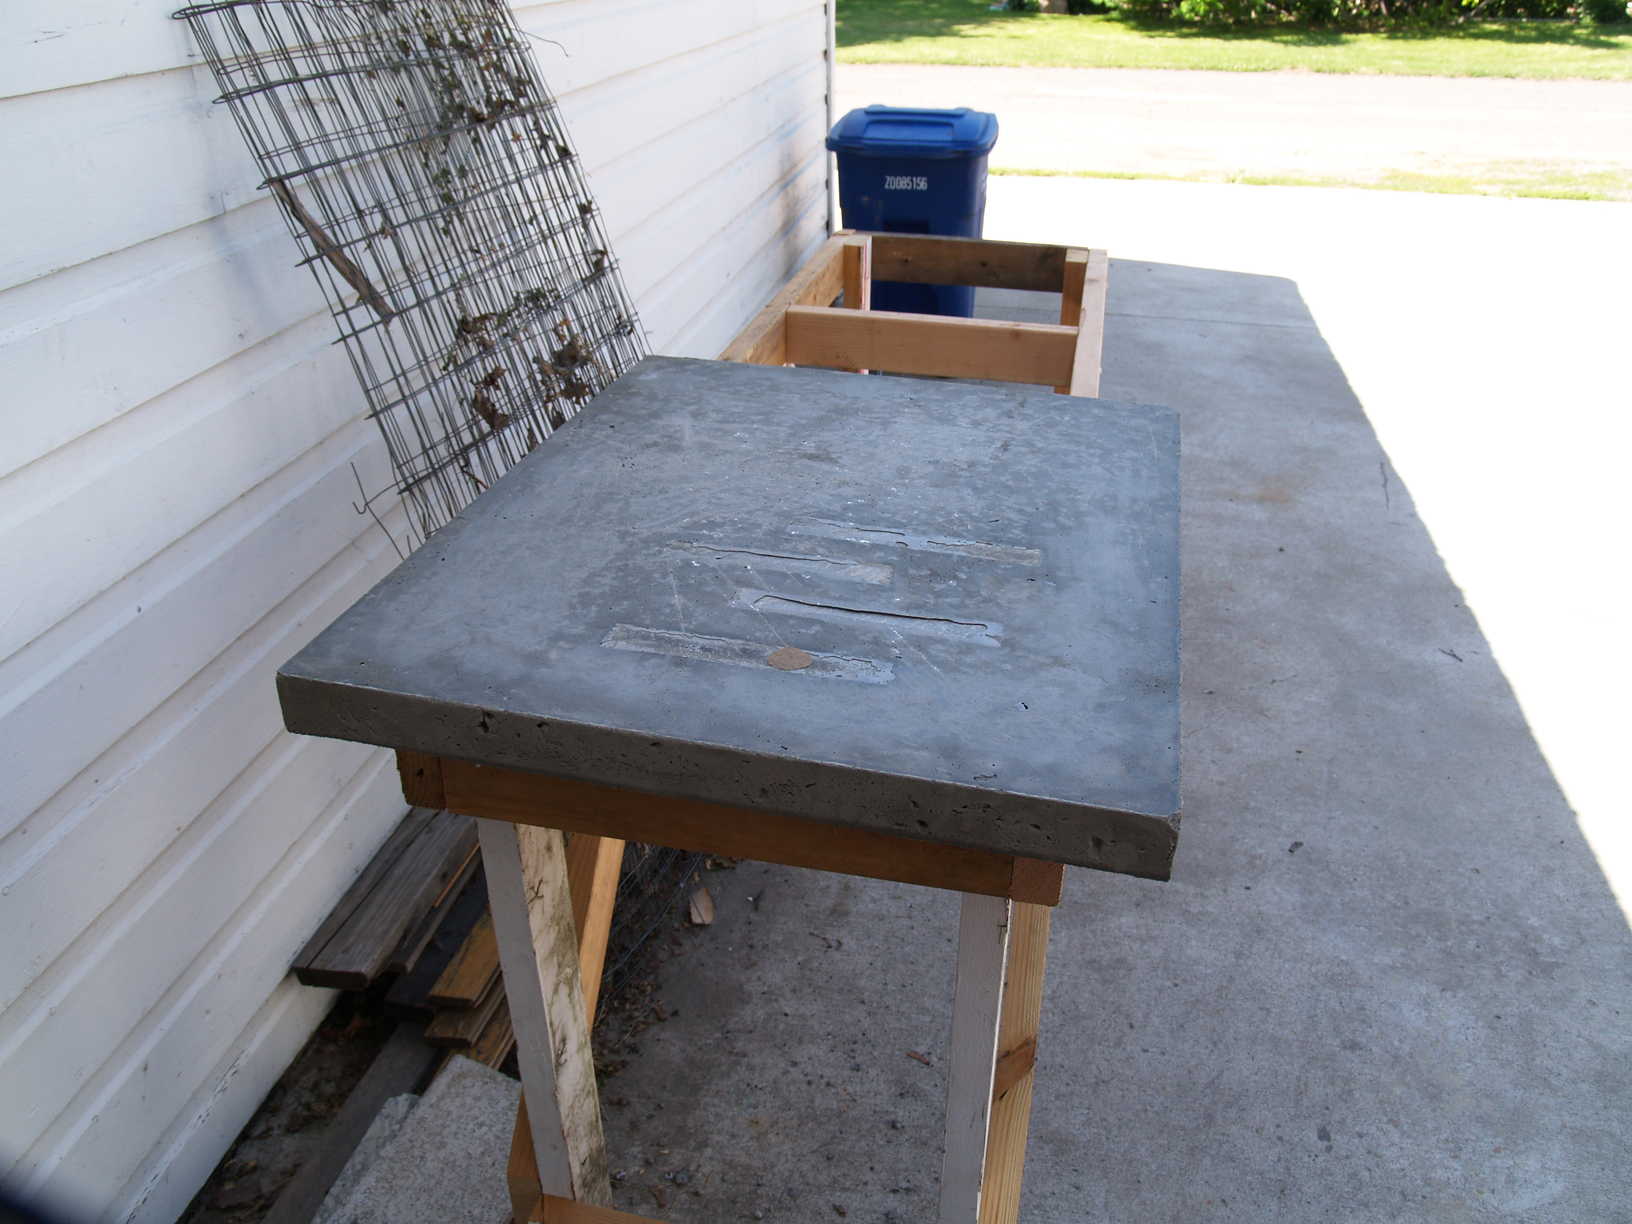
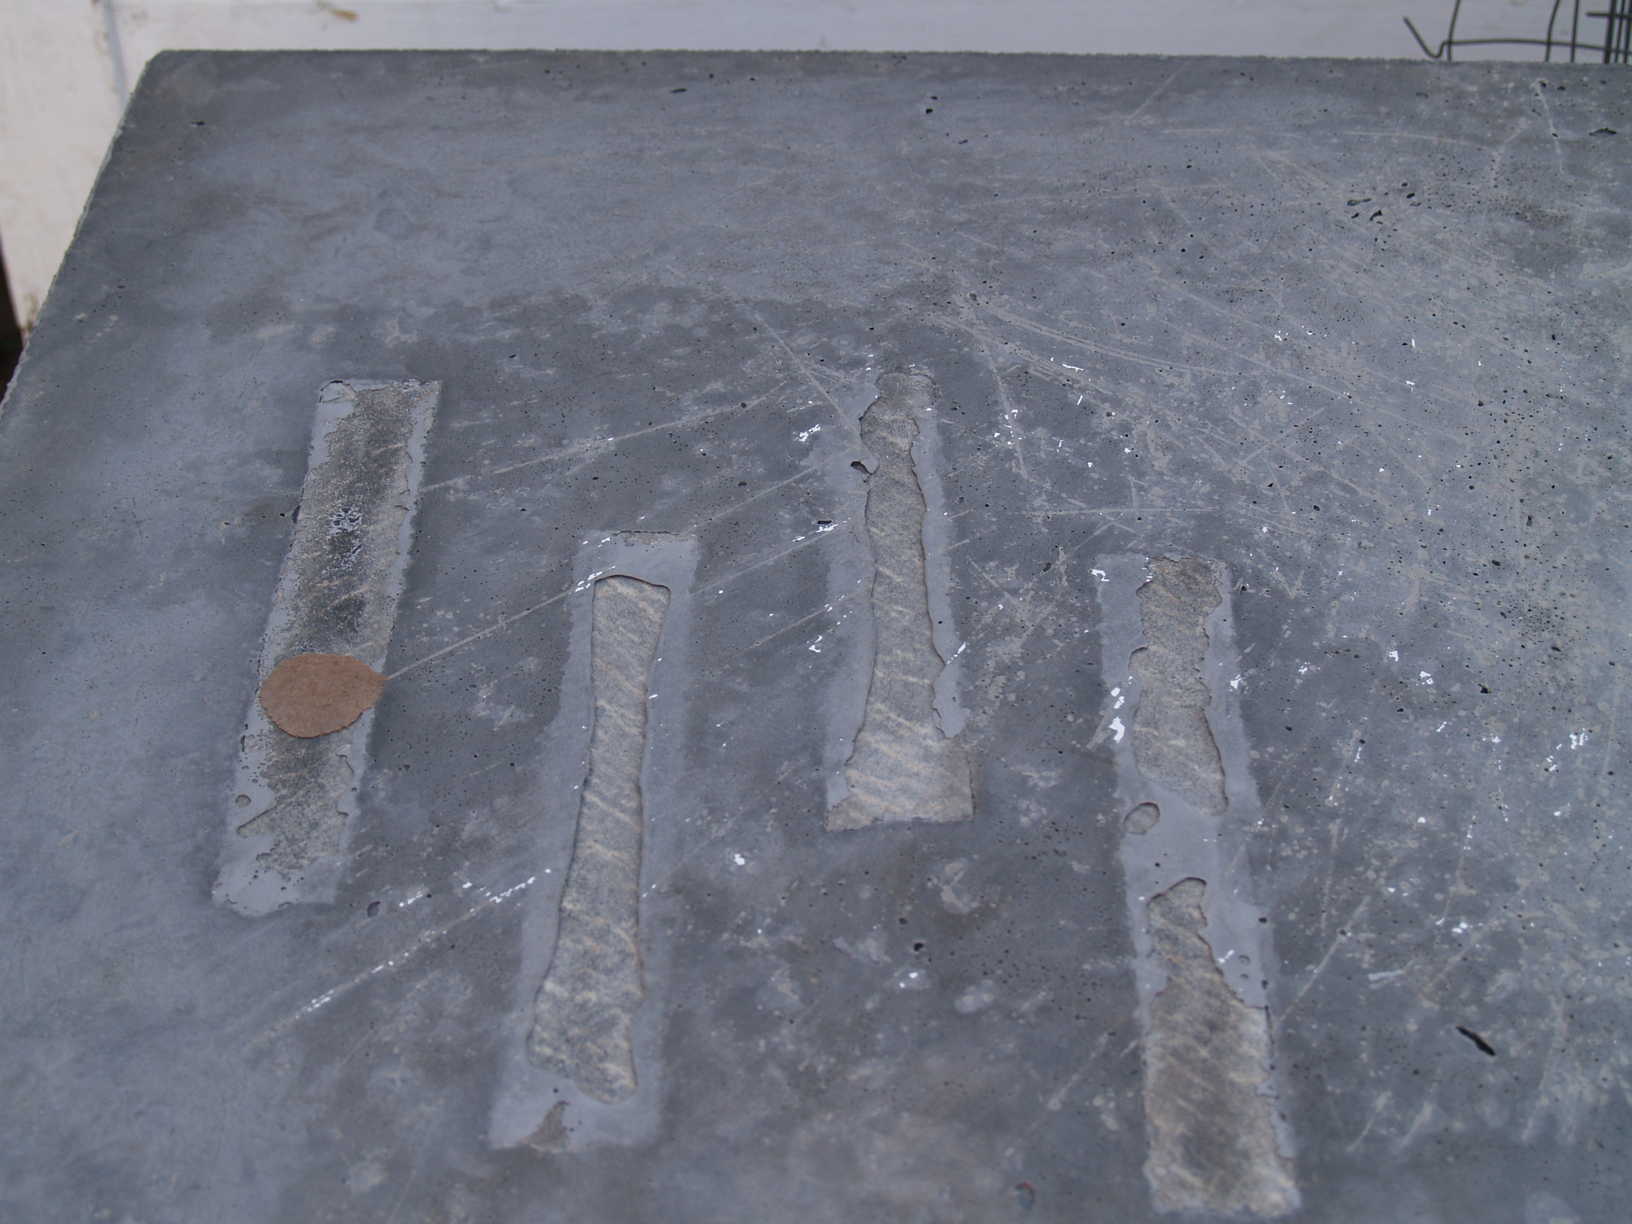
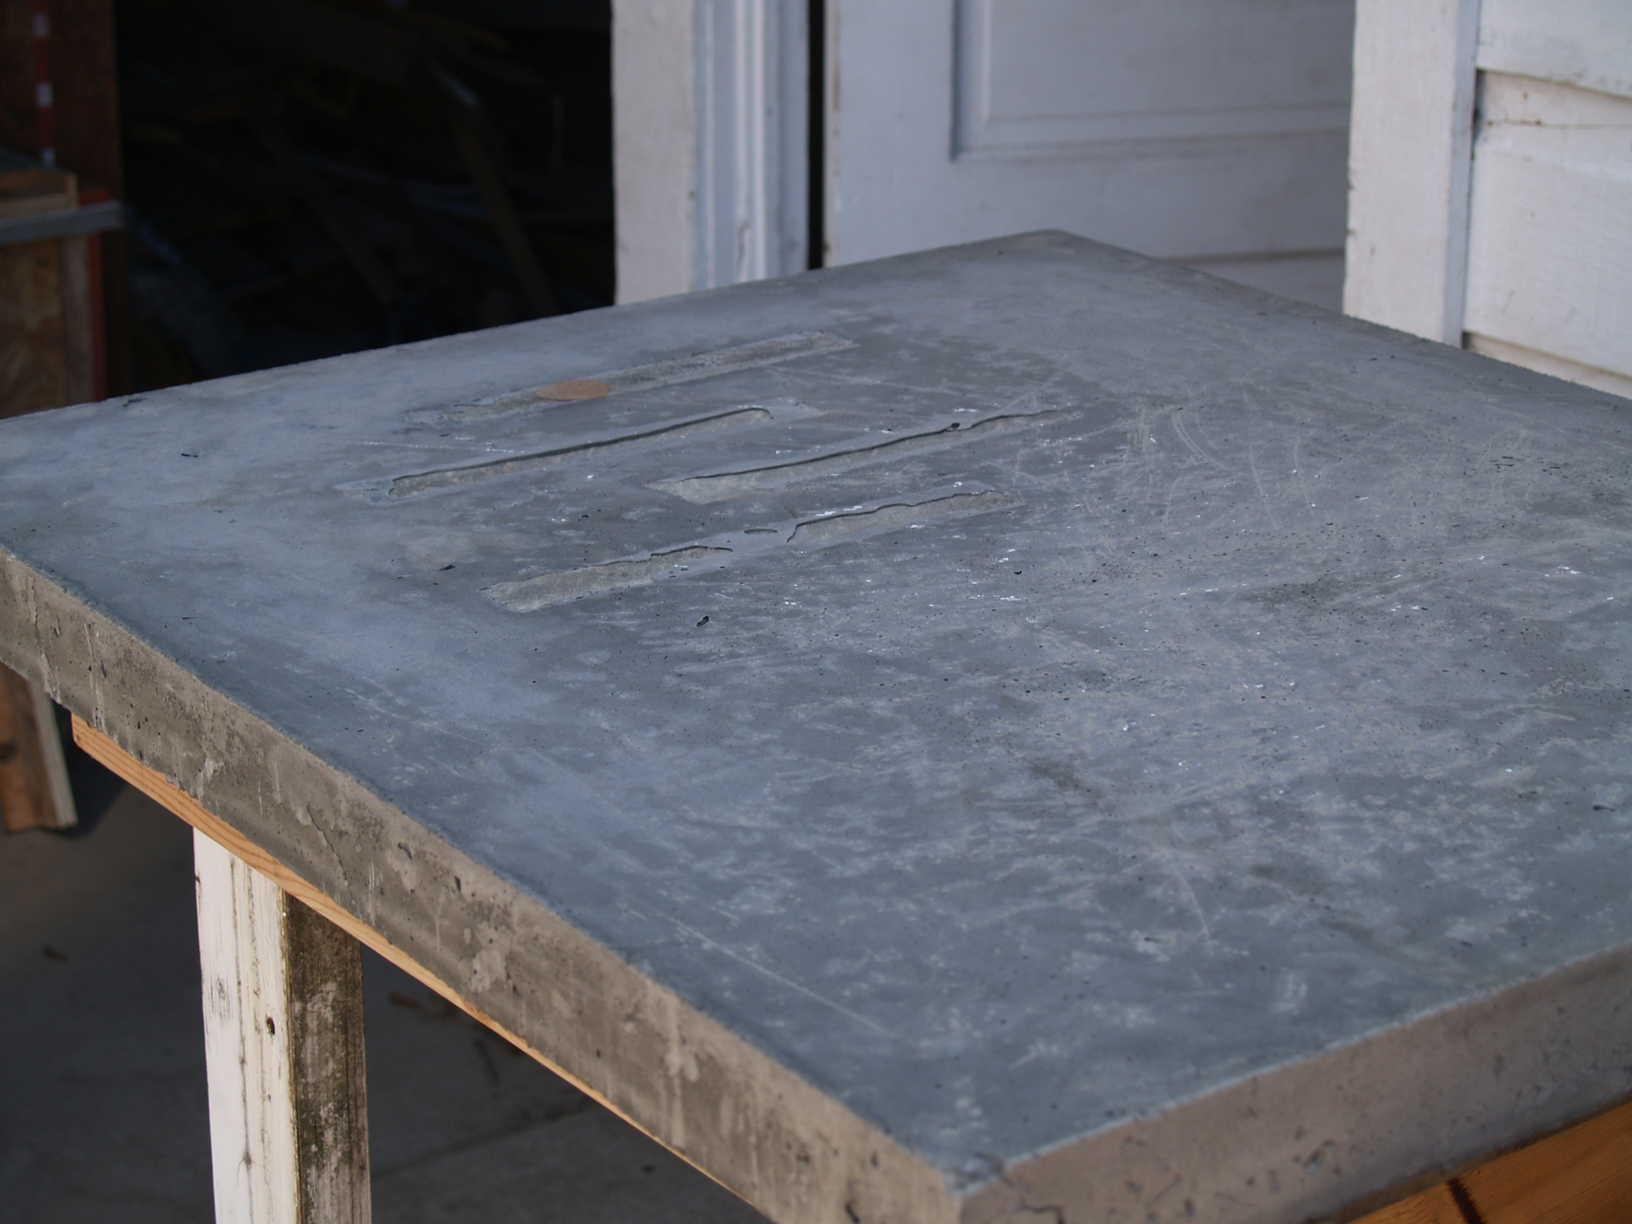
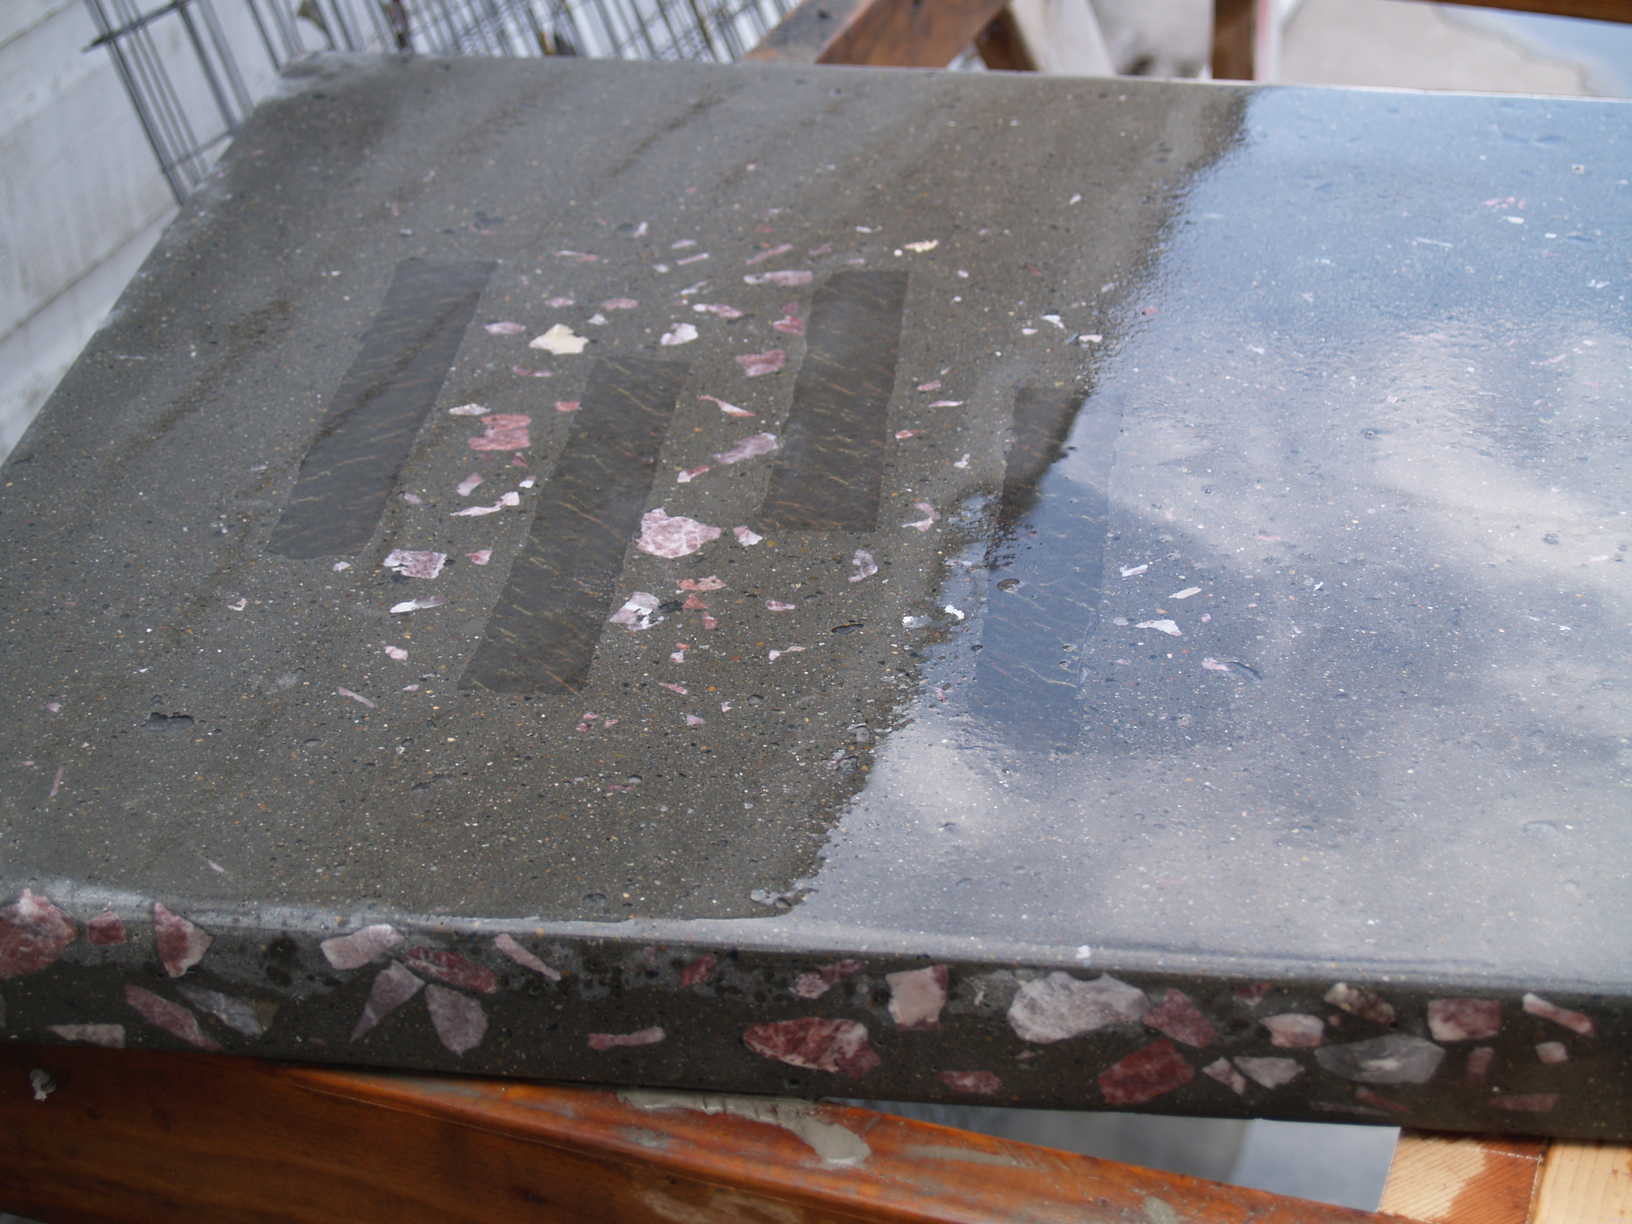
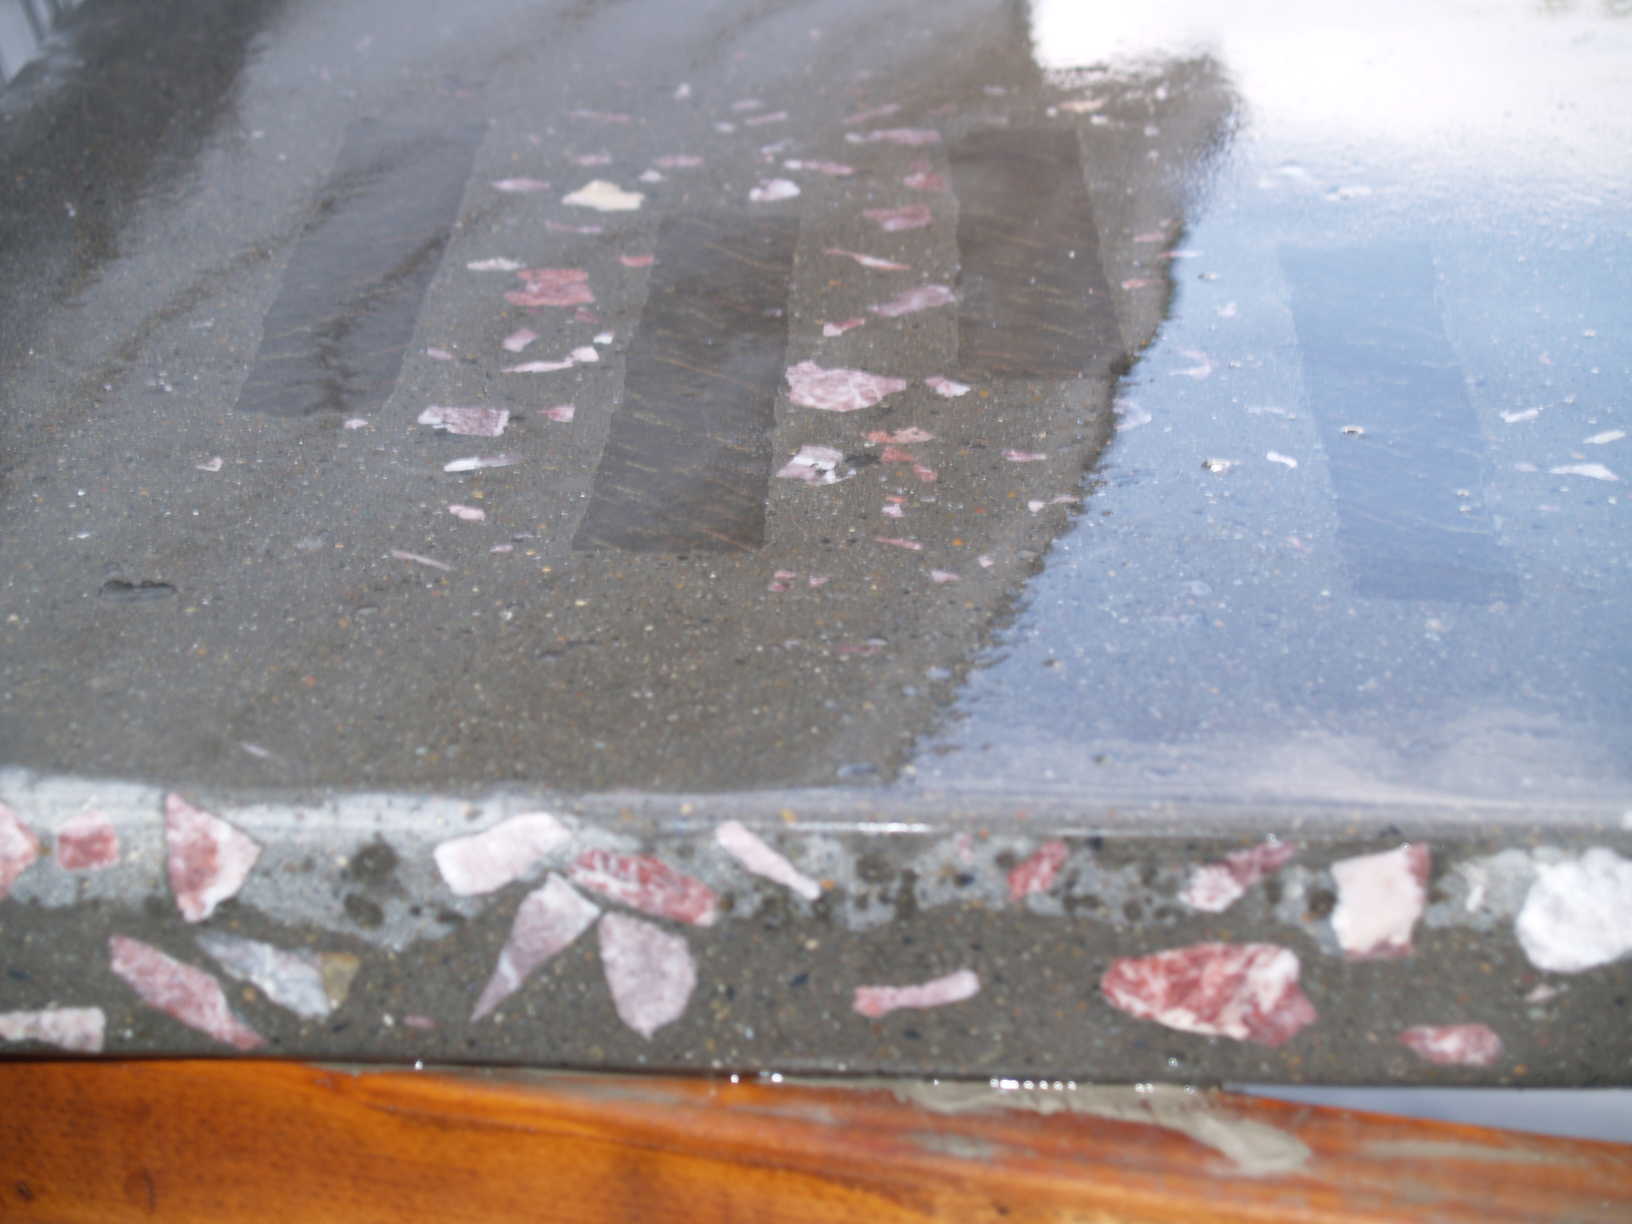
As you can see, the edges of the counter(s) are rough after coming out of the mold. That is fine. For the counters we are putting in the kitchen we decided to use marble chips that have a reddish pink color. We found them at Wal-Mart in the gardening section. Prior to sanding each counter, I cut the first inch of material off of the exposed edges.
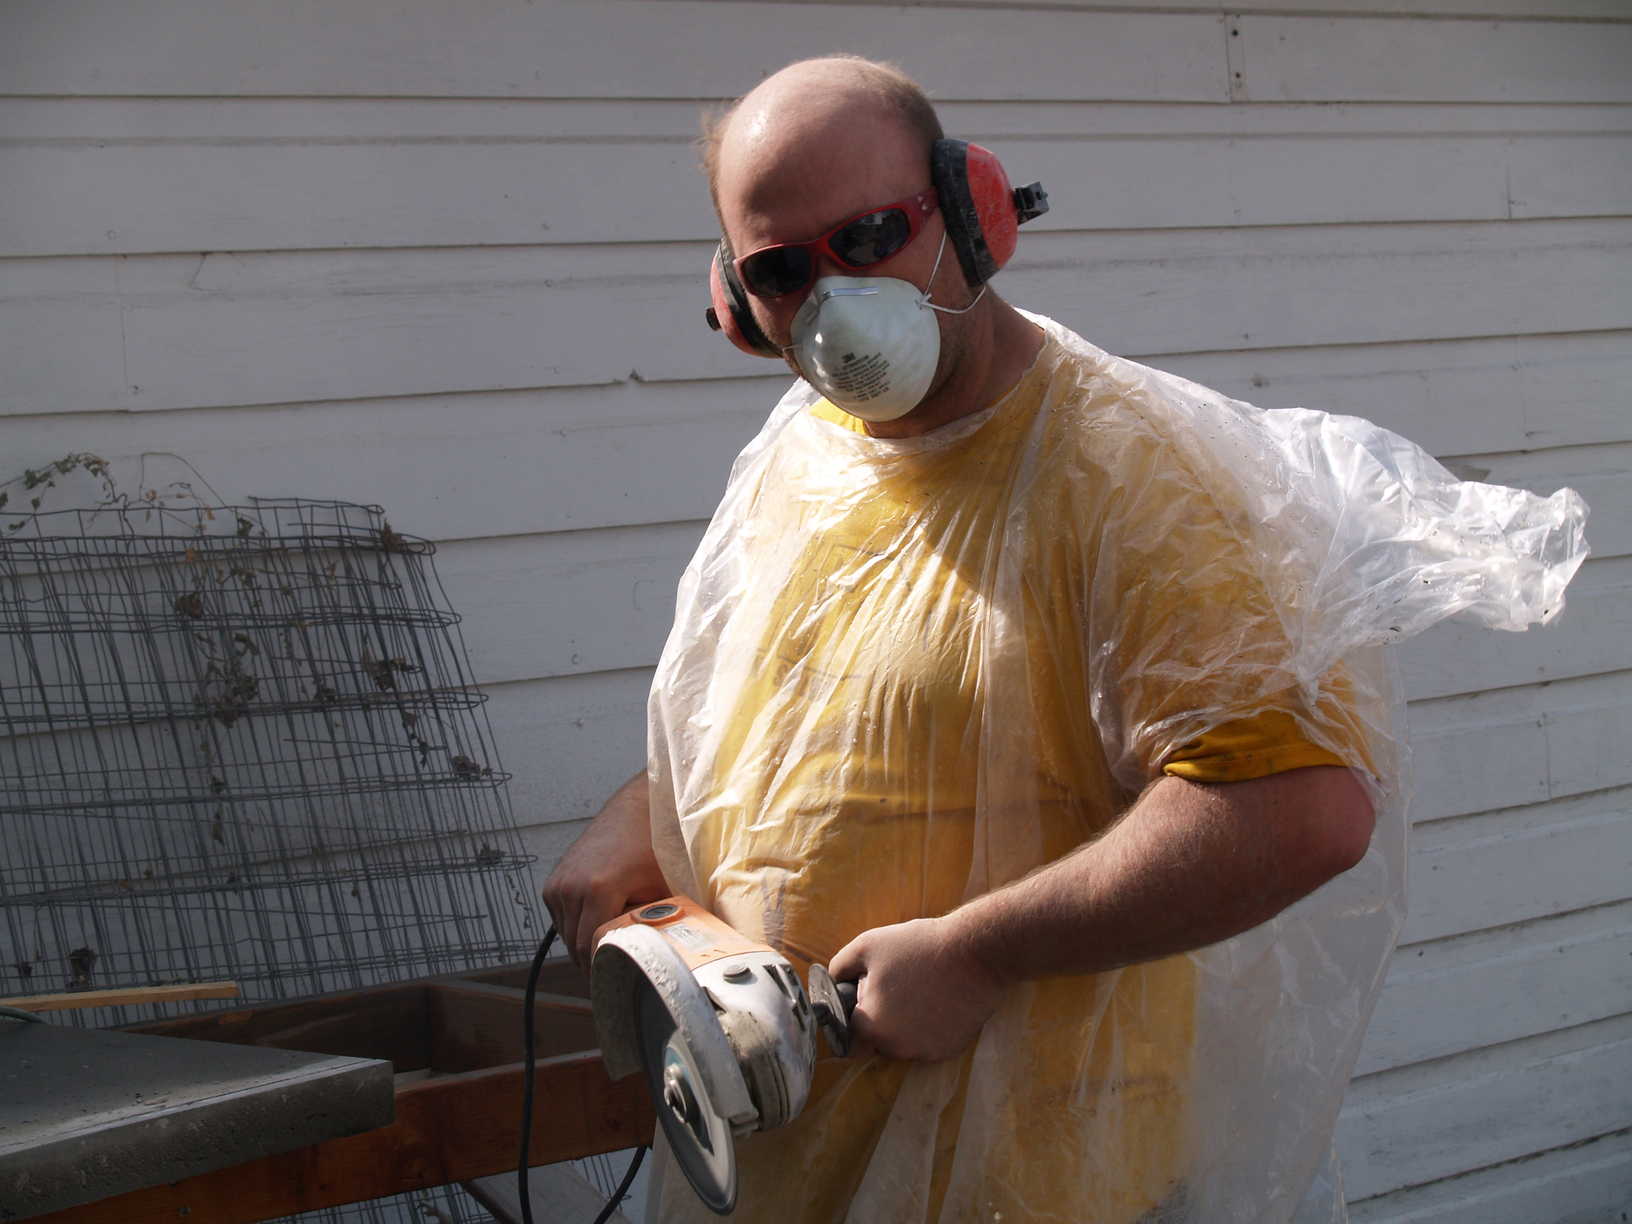
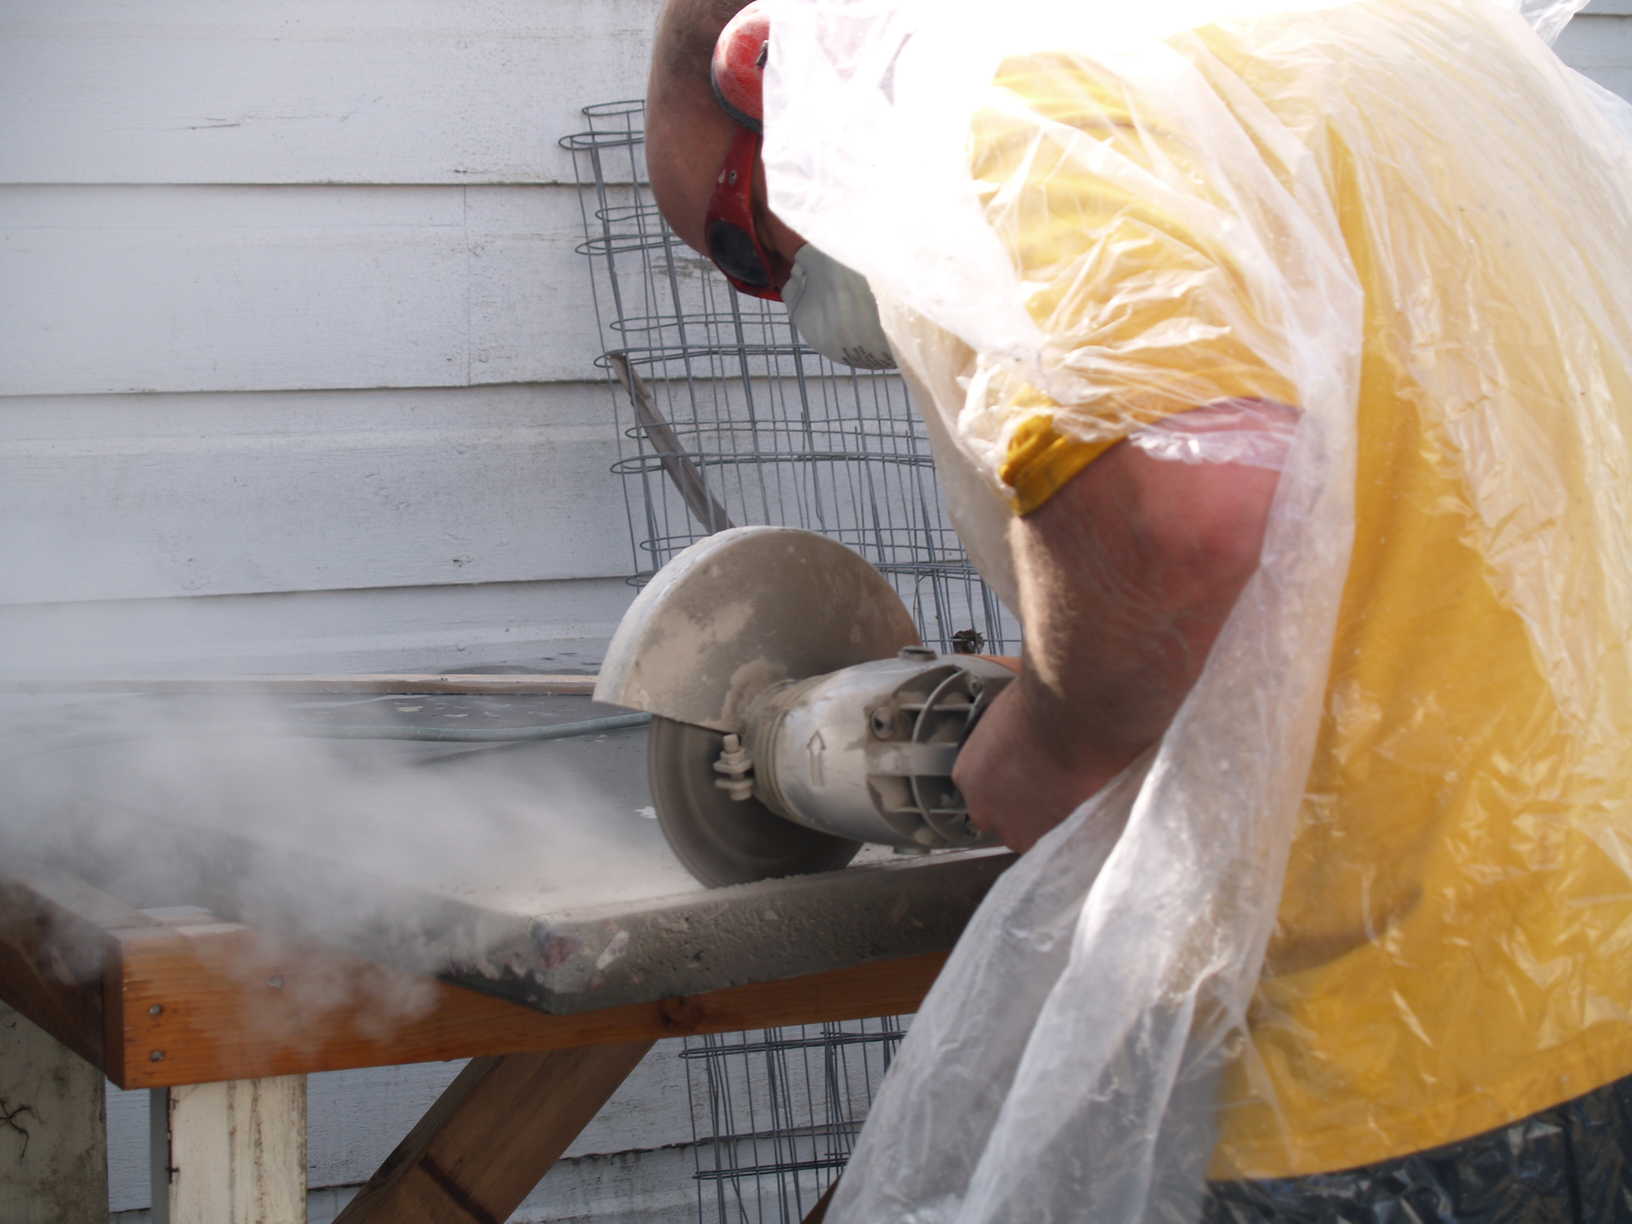
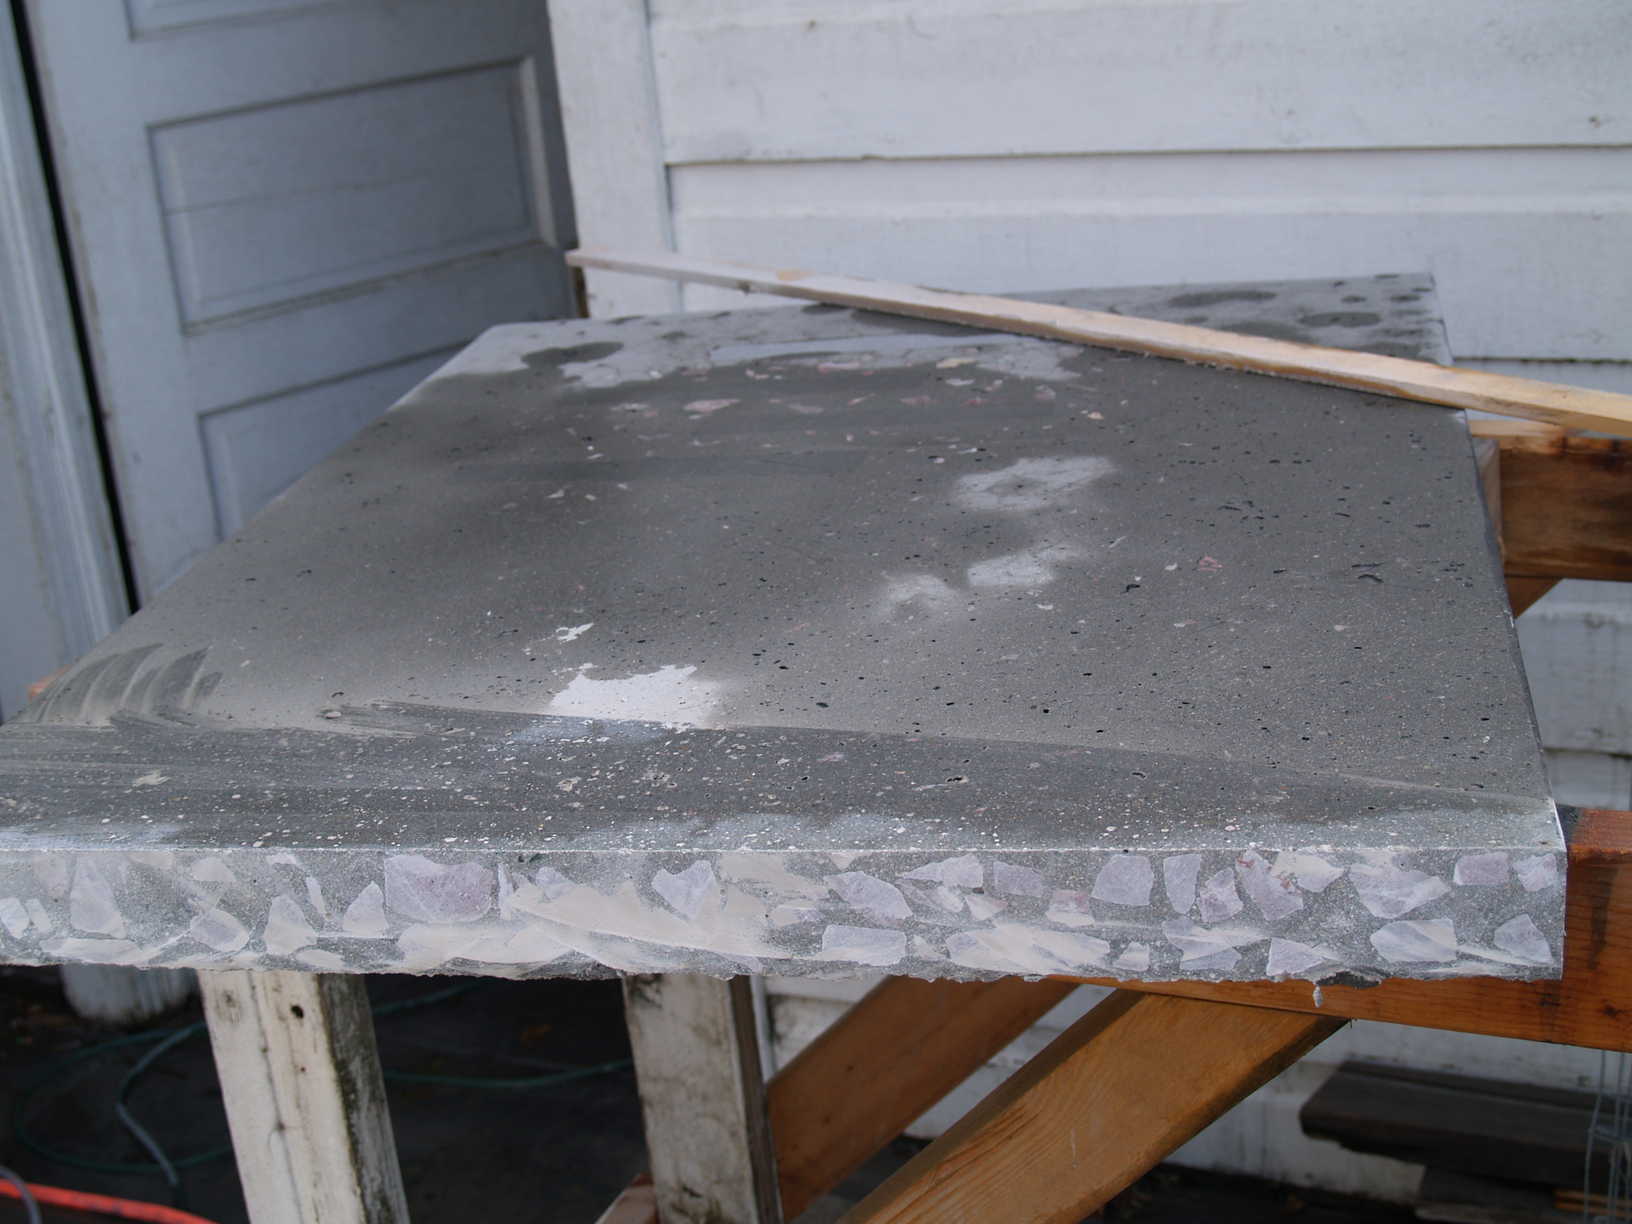
After cutting the edges off, you are left with a lot of exposed aggregate. It really adds some bling to the edges. You can see how the edges are starting to look good after only a few sandings. I think these picts were after 400 grit sanding.
The Sink
My success with the first two counters caused me to get carried away and decide to make my sink out of concrete to match the counters. It was a great idea and I would probably do it again. Beware though that a full size sink with 2" thick walls can be very heavy. I think mine is around 600 pounds. I don't think I got any pictures of it, but basically I made a plywood box the size/shape of the sink bowl I wanted, screwed it to my table, attached a cheap drain to the plywood to form the drain hole, added the forms for the counter around it, poured the counter portion, added a premade seconds set of forms and then poured the sink bowl portion. For the sink I also took the time to weld together a rebar frame around the sink bowl for extra strength. Don't know if that was needed but it made me feel better.
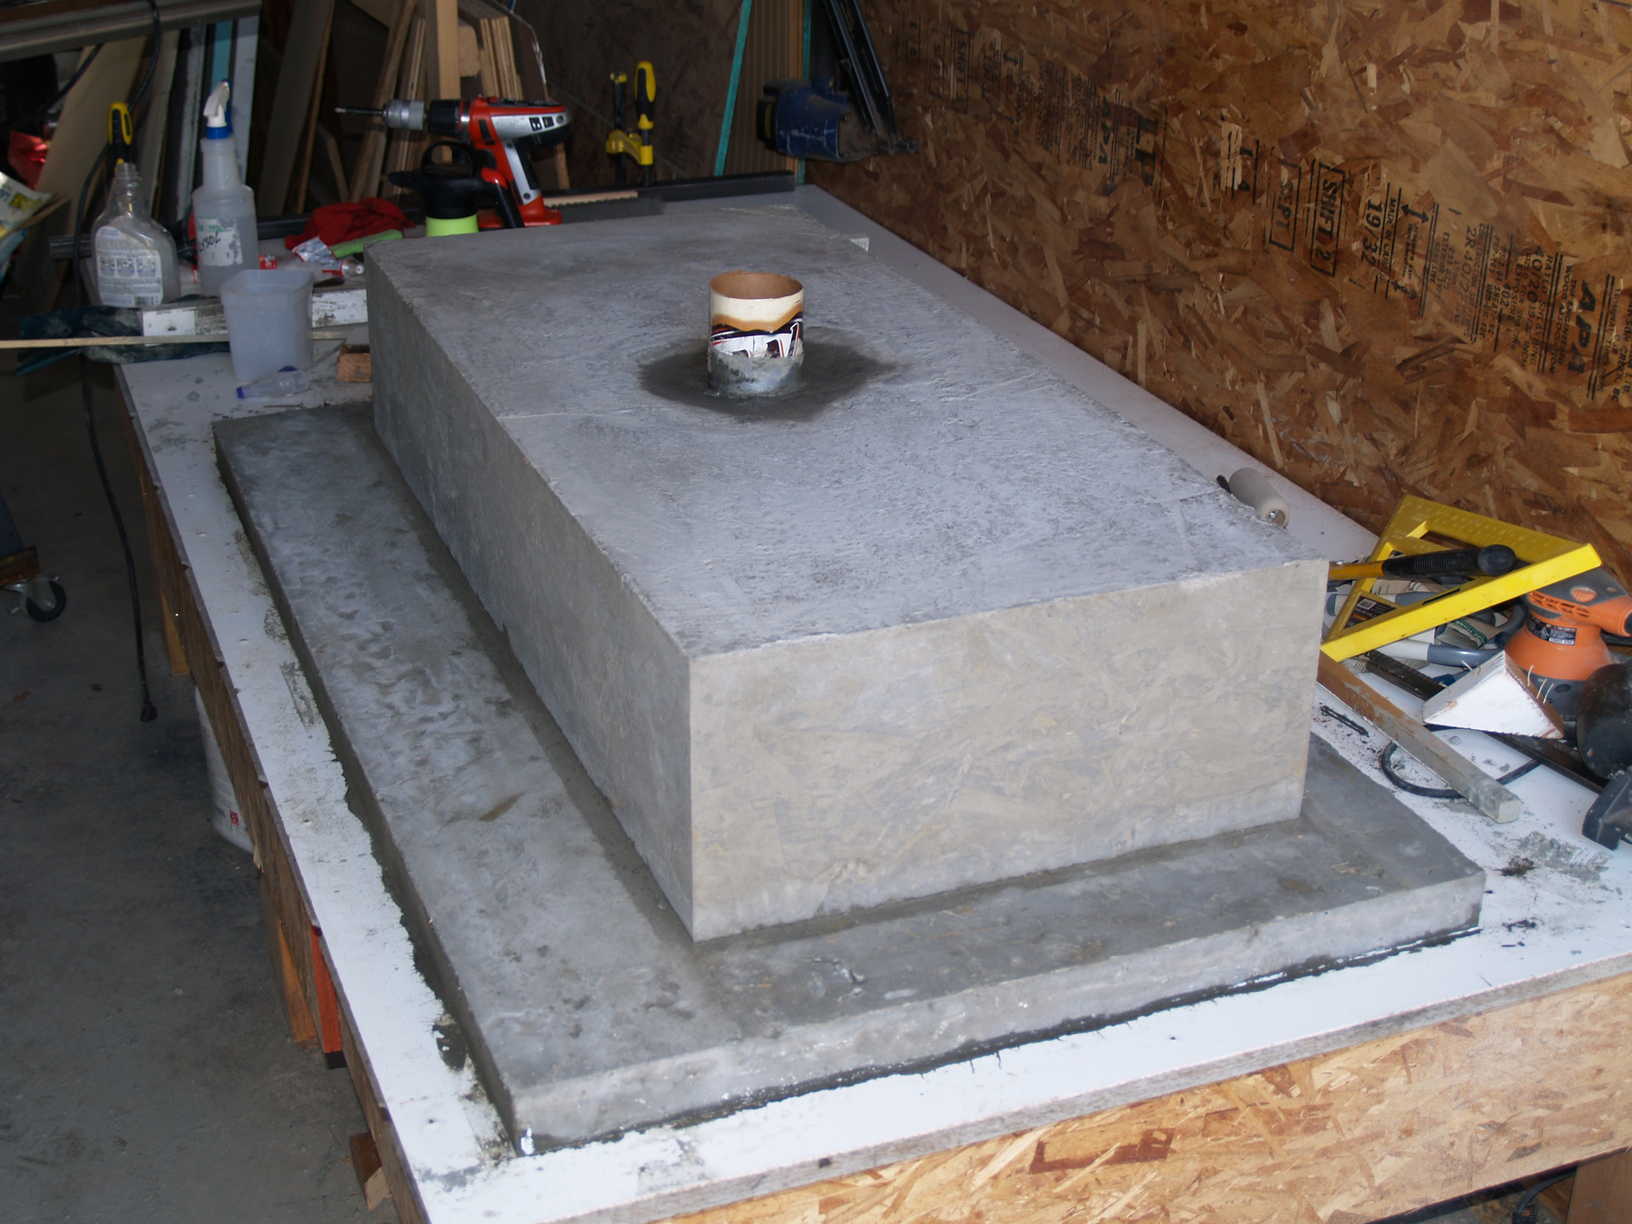
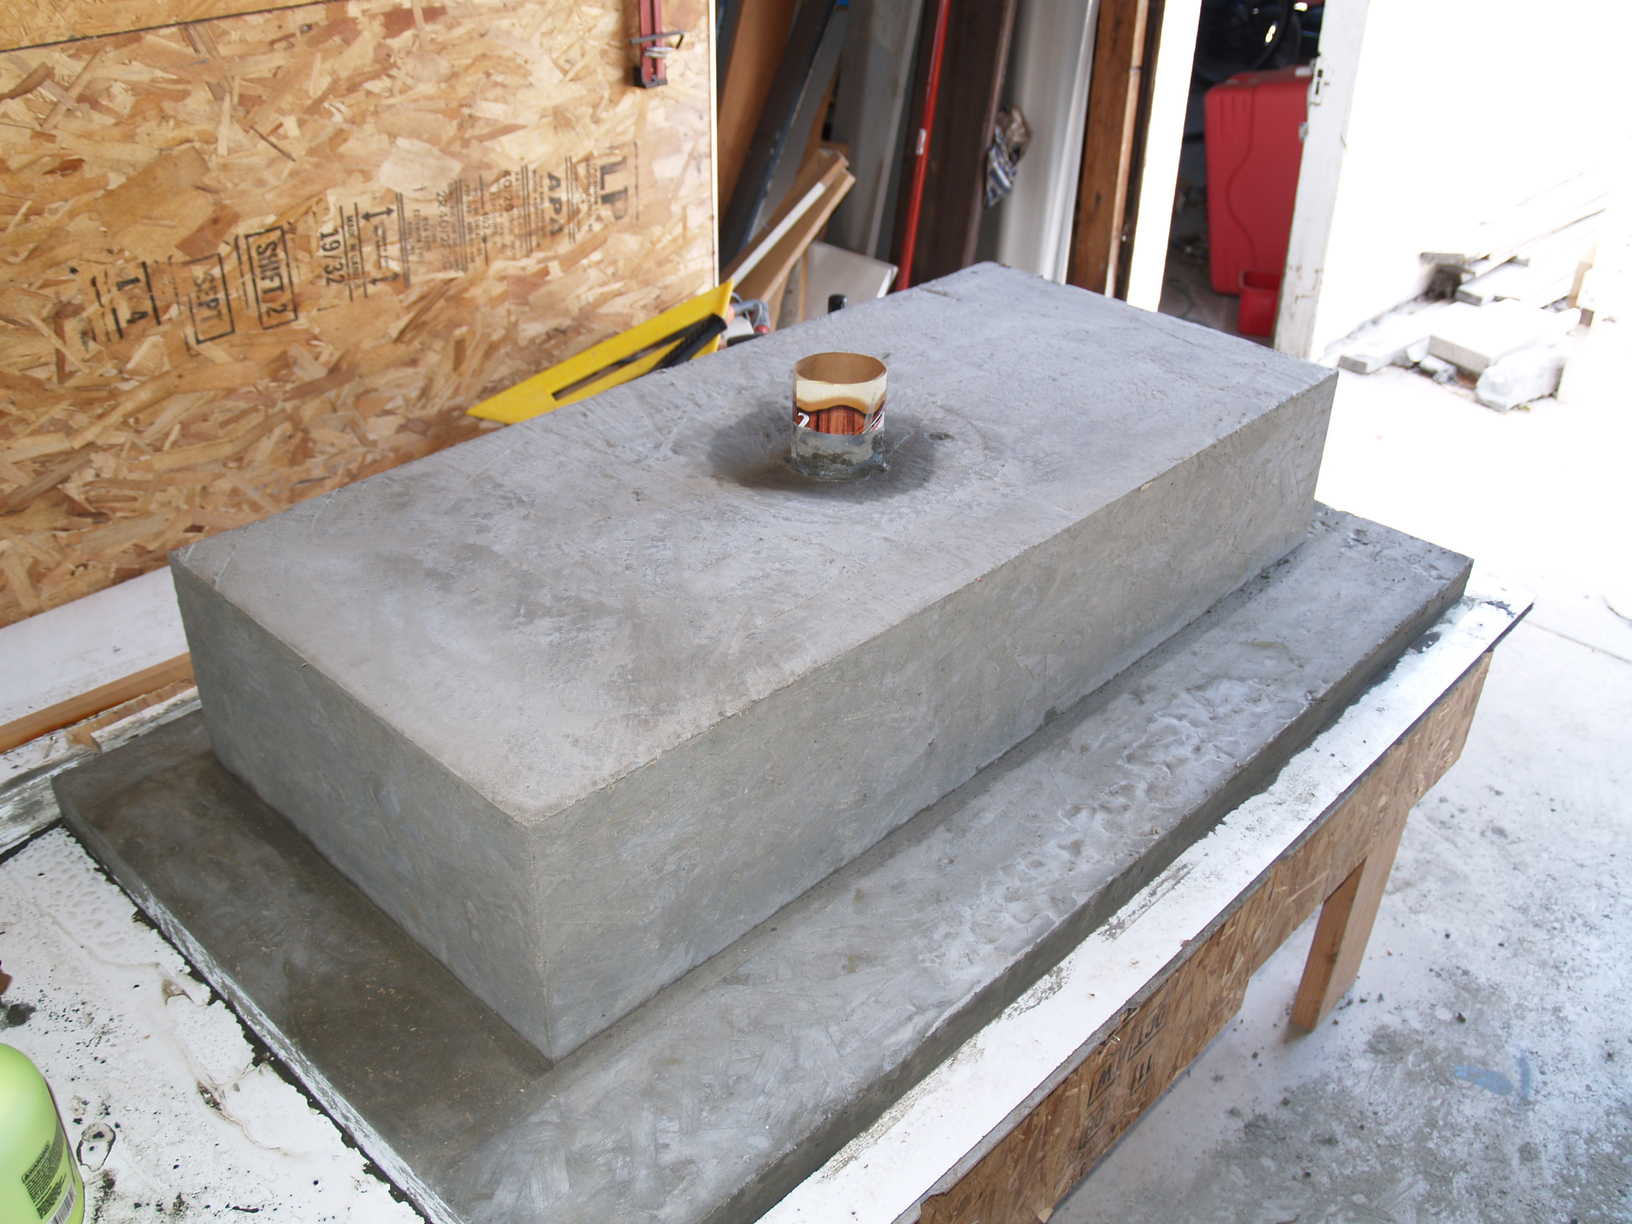
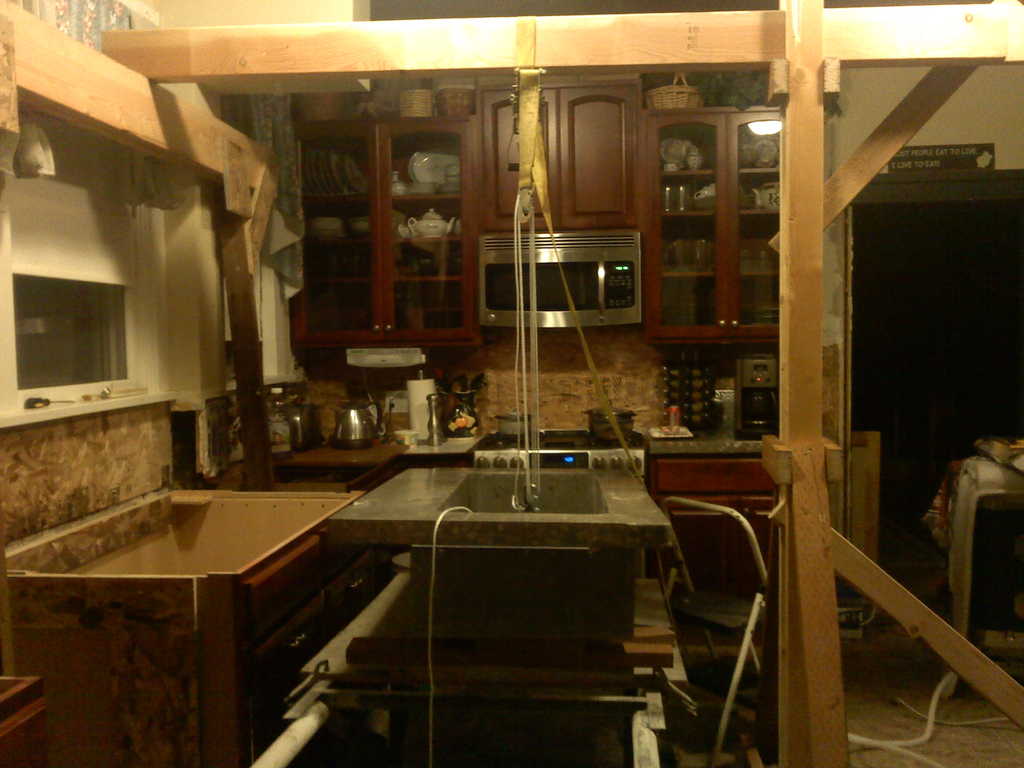
Getting the sink into my house and onto the cabinet was to say the least an exercise in patience. There was not enough manuevering room or hand holds to pick the sink up by hand so I had to build a 2x6 frame in my kitchen to allow the hoisting of the sink.
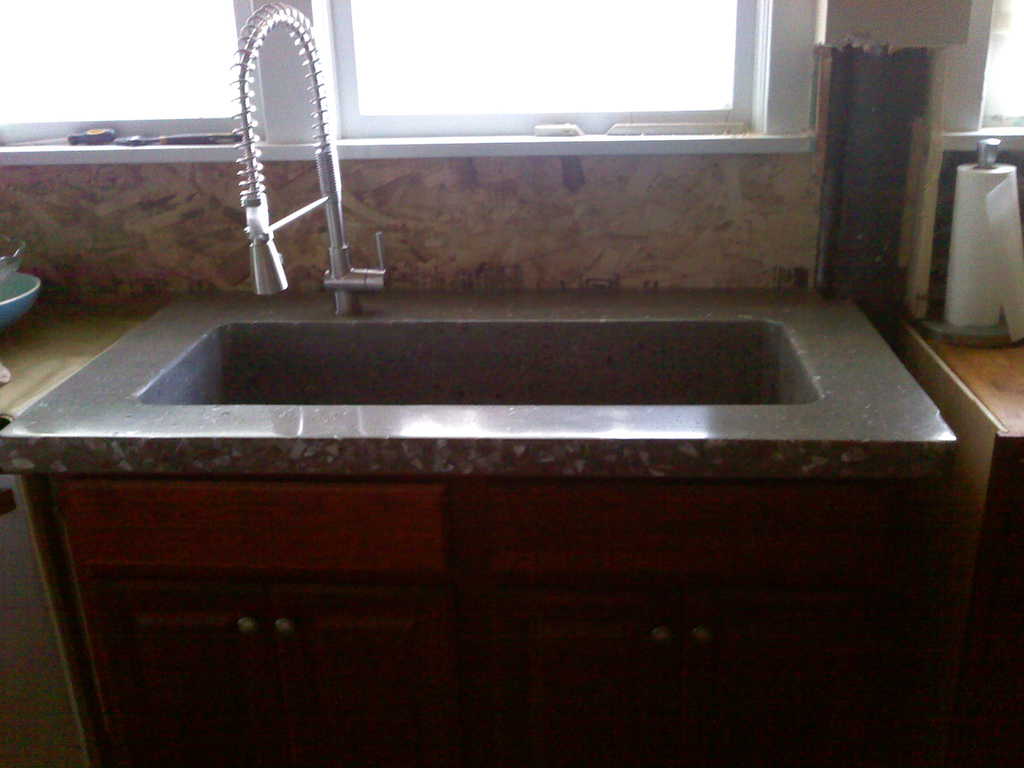
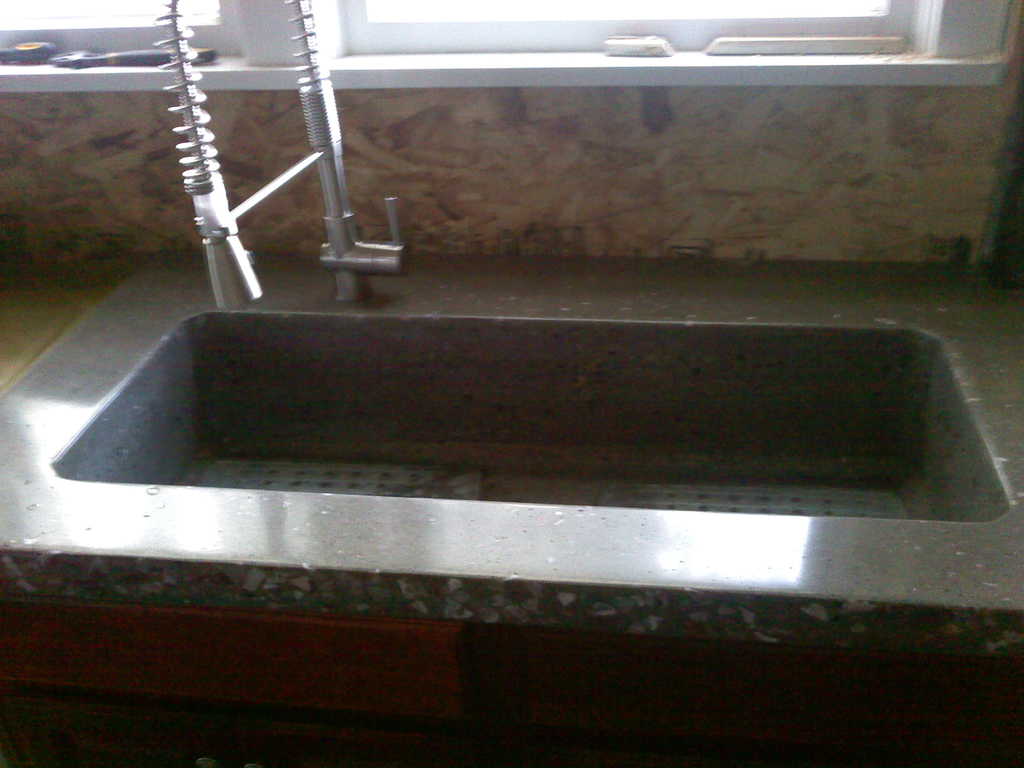
I'll add some more pictures and details when I get some more time.